Exactly How To Remove A Blackhead On Your Lip, According To A Celebrity Facialist
[email protected] | July 21, 23

Most of my scars are glaring reminders of skincare sins I’ve committed: A prominently overstretched pore on the left side of my nose, a divot in my forehead from scratching off my chickenpox as a child. The most noticeable of these transgressions hovers just above my lip.
Many moons ago, I had tried (and failed) to extract a mysterious speck from my lipline. At the time, I’m not sure I realized exactly what it was . . . or what good skincare practices were, for that matter. Naturally, I attacked the speck with every sharp skincare tool I owned until I’d created a wound (and then a scab I ended up wearing for around for a week, until I picked it off again).
I’m telling you this, not because I enjoy airing my dirty skincare laundry, but because I know it’s human tendency to want to pick, dig, or otherwise extract mysterious skin specks. (It’s why Dr. Pimple Popper has amassed such a large following.)
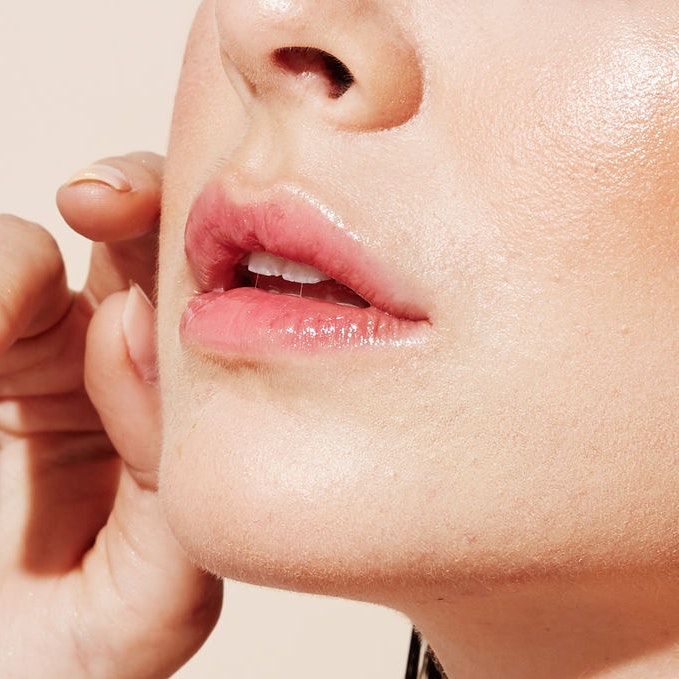
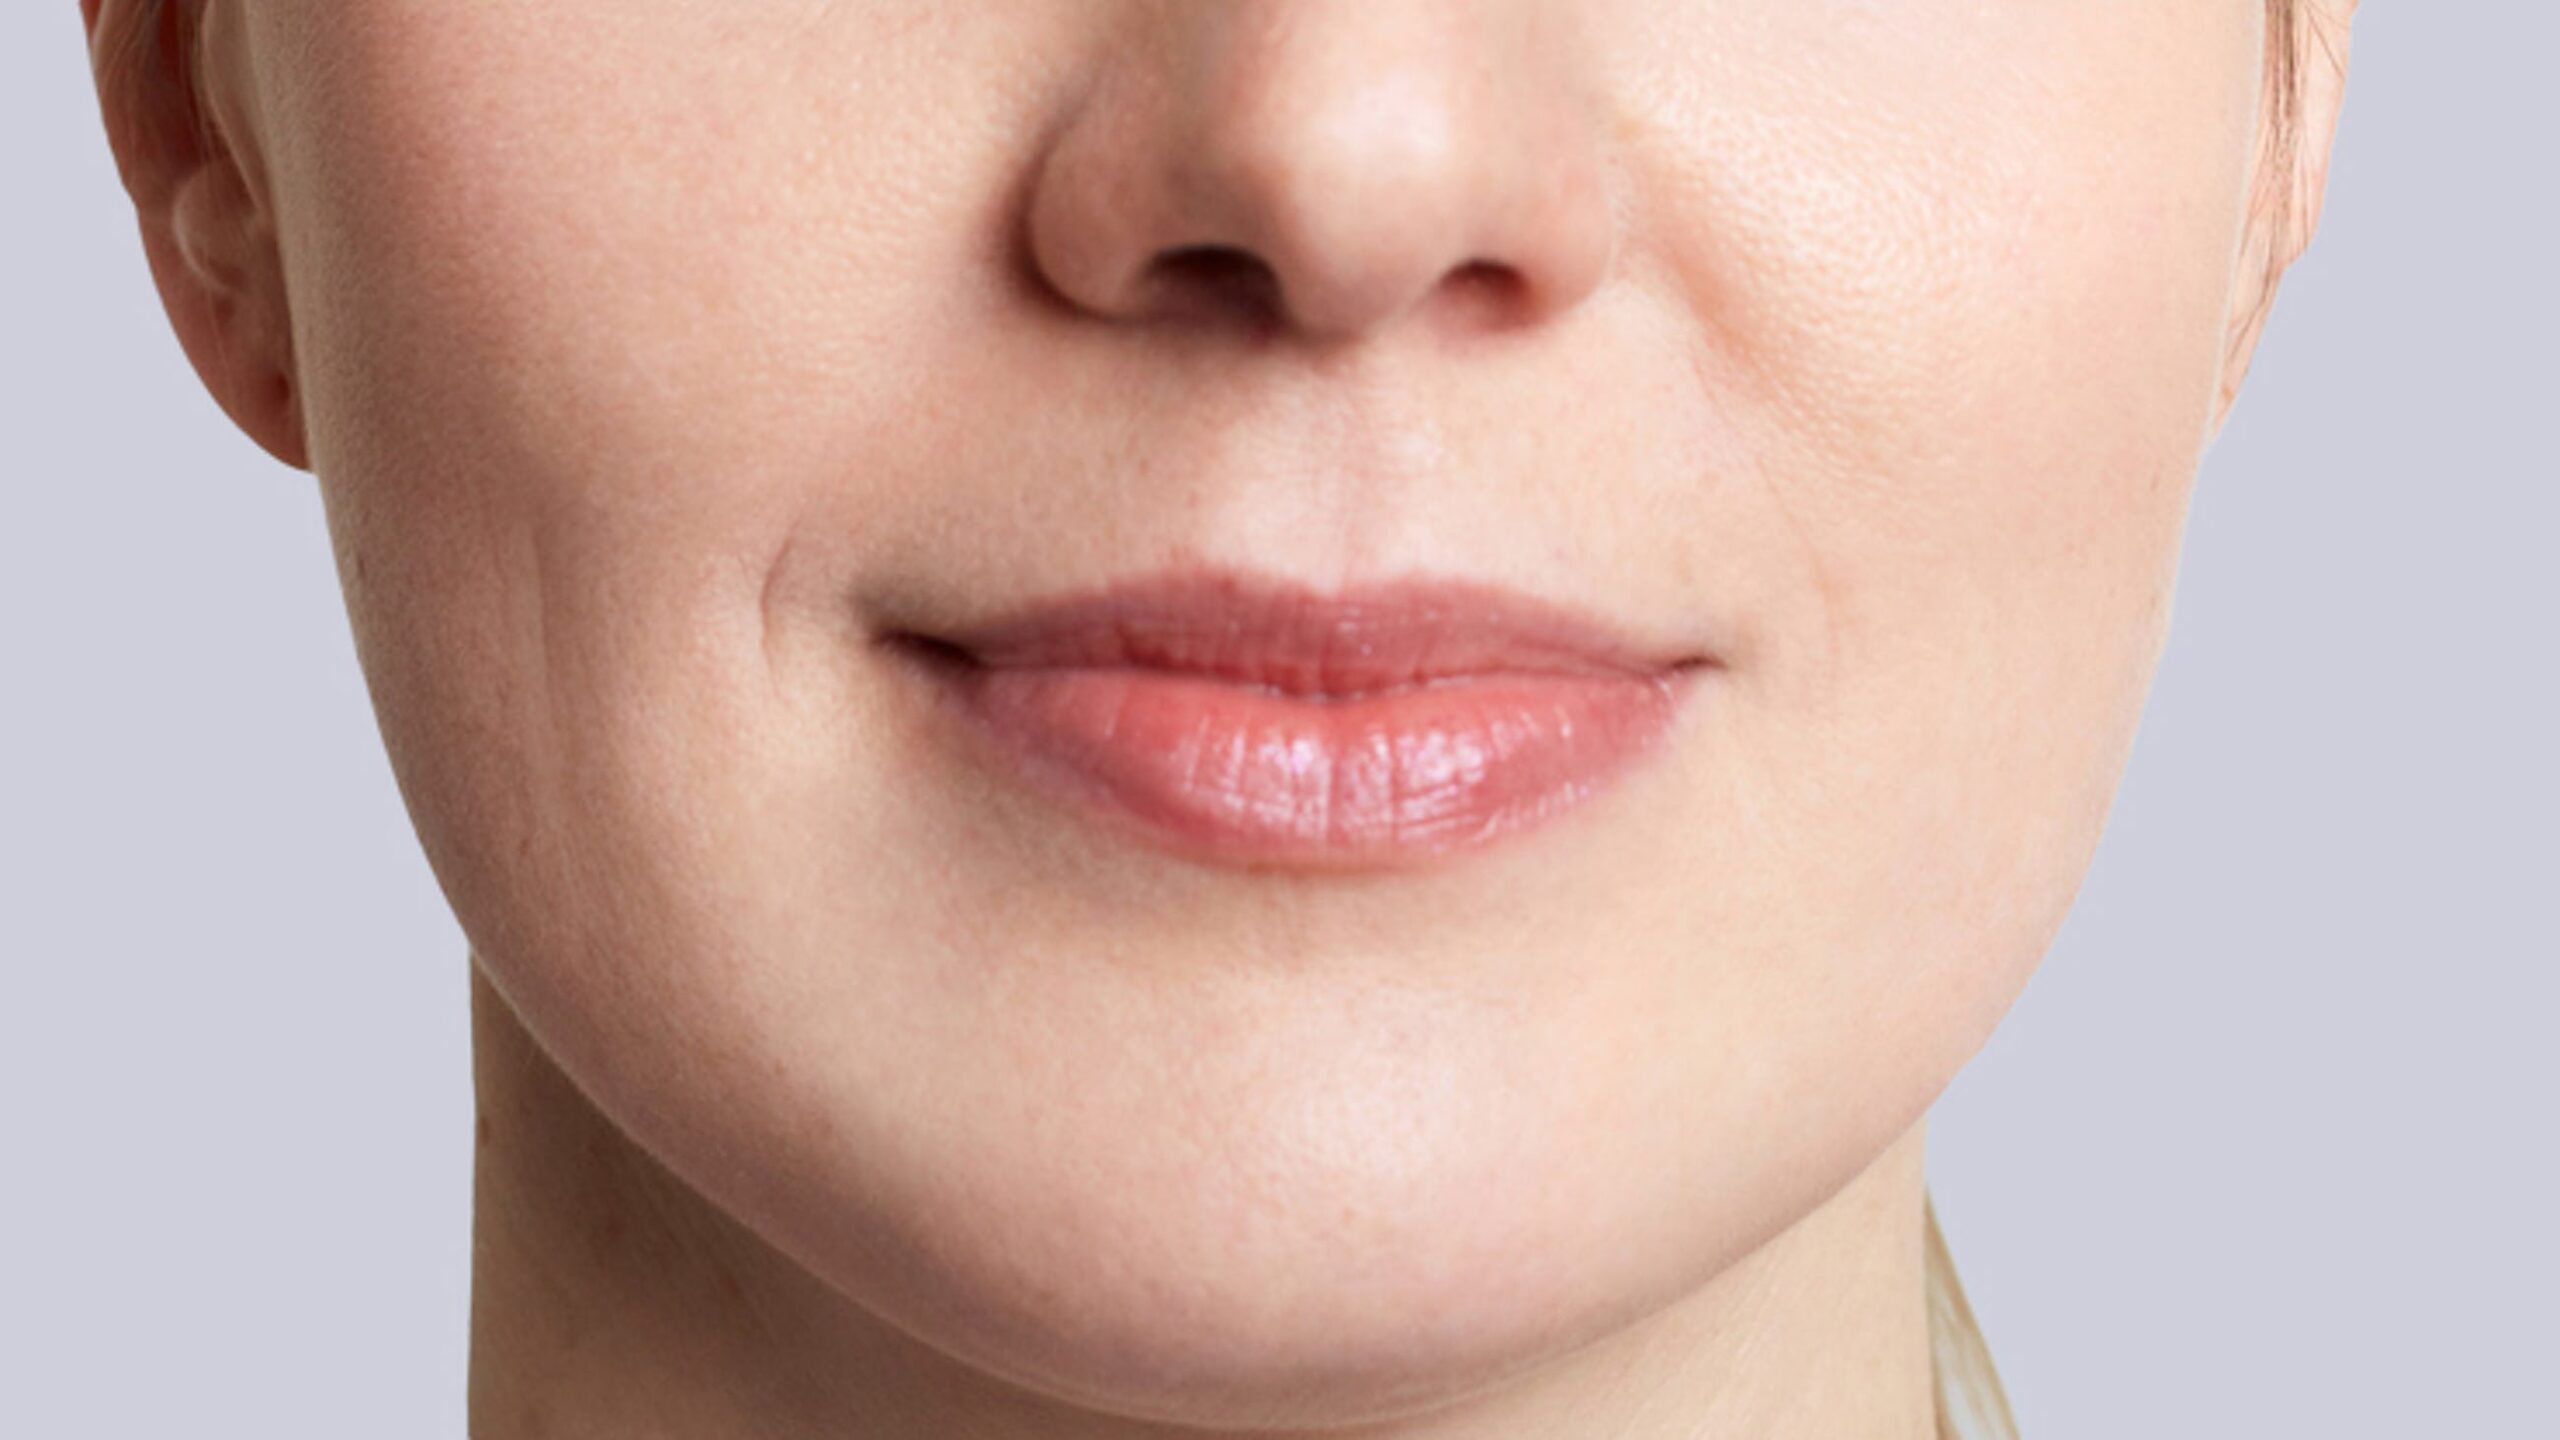
According to celebrity facialist Renée Rouleau, blackheads on the upper lipline are not uncommon. Like other open comedones, they’re caused by enlarged pores: pores that fill with excess sebum, oil, and grime. Eventually, this amalgamation reacts with air and oxidizes, which is the chemical process that puts the “black” in “blackheads.”
Oftentimes, blackheads can be found scattered across a particularly oily area. Lip blackheads, however, tend to reside alone. “You will not see the entire lip line covered in blackheads like you might see on the nose area,” Rouleau notes. “They are usually alone.”
Another differentiating factor to keep in mind about lip blackheads is that they reside in such a sensitive area. “There are blood vessels in the lip area,” Rouleau notes, “so whenever you do an extraction of a blackhead in the lip area, you [risk] redness and swelling.” Whether or not either of these things happens depends on how deep the blackhead is, she adds, as well as how you manipulate the skin. Because, yes — there is a correct way. (And I wish I’d known about it before I created a scar.)
Below, Rouleau shares her tried and true recipe for safely extracting a lip blackhead at home. (Sans scarring.)
Prep:
Rouleau recommends a curious-sounding toolkit of cellophane or plastic wrap, two washcloths, heavy moisturizer, and facial tissue. If you’d prefer, you can also throw a blackhead extractor tool into the mix. (Try the Tweezerman® Blackhead Extractor, $13).
Once you’ve lined up your tool kit, run a hot, steamy shower, and hop in. (As Rouleau explains: “Extracting blackheads immediately after a shower will allow for the hardened oil within the pore to soften, making it easier to perform extractions.”)
Step 1:
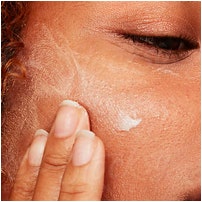
Immediately after your shower, apply a thin layer of the “heaviest moisturizer you have” to the lip area, advises Rouleau. (Try Drunk Elephant® Lala Retro® Whipped Cream, $60.) Using a thick, occlusive moisturizer can help to trap the heat and steam generated from the shower within the pore for longer.
Step 2:
Cover the area with cellophane. Then, wet one of the washcloths with hot water. “Apply the first hot, damp washcloth,” she advises. “Then, get the second washcloth nice and hot and apply it over the other one.” The second washcloth will help the first one retain its heat for longer.
Step 3:
Remove the cellophane or plastic wrap, then add more moisturizer to keep the area soft.

Step 4:
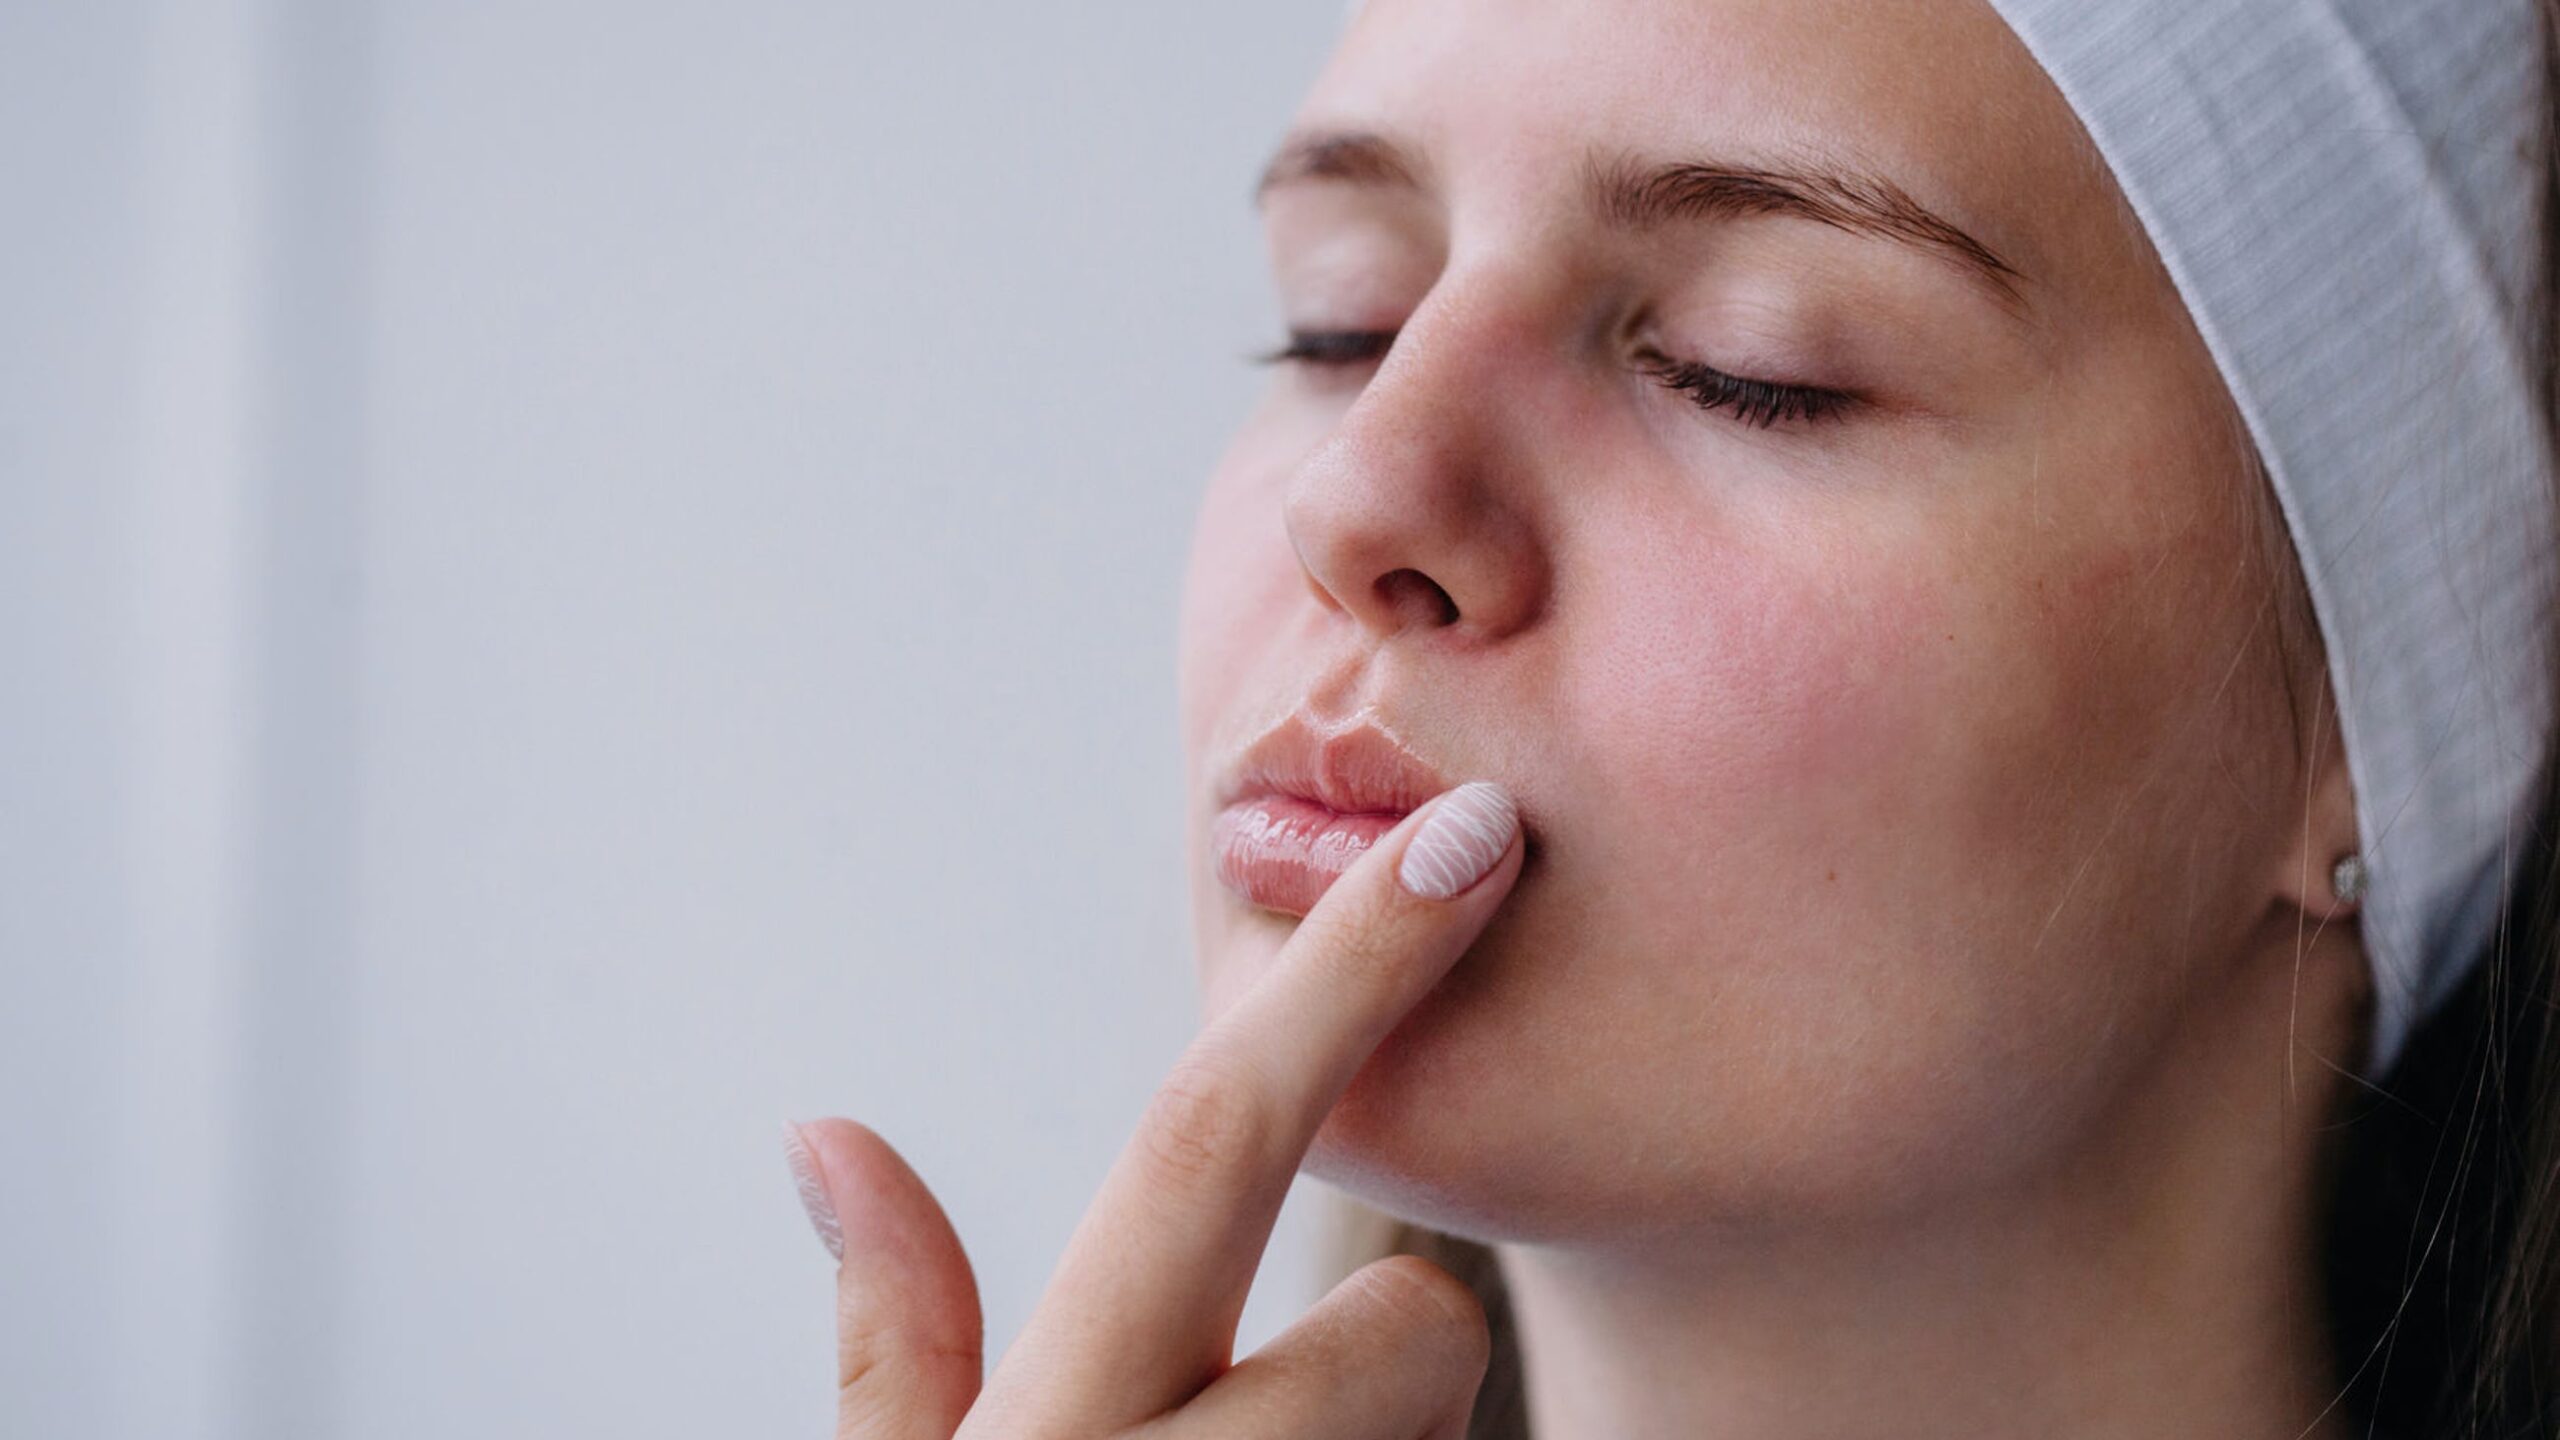
Now you’re ready for the actual extraction (or what some of us might call “the fun part”). There are two methods, and which one you use depends on whether or not you have an extraction tool. If you do not have an extraction tool, wrap a clean tissue around your forefingers. (This will help ensure you don’t get any bacteria from your fingers into the pore.)
“The goal with squeezing is to avoid positioning the fingers too close, as this won’t allow the blackhead to come out,” Rouleau says. Instead, widen the stance of your fingers. “[This way] the blackhead will be extracted more easily and from a deeper level of the skin,” Rouleau says.
If you have a blackhead extraction tool, proper alignment is the name of the game. “Hold the [blackhead extraction] tweezers perpendicular to the blackhead, allowing the curved edges to touch the skin. “Place the open tips on both sides of the blackhead you plan to extract,” Rouleau recommends. Then, slowly apply pressure to the area. Once the blackhead begins to release, use the tips of your tweezer to pull the blackhead out from the skin.
“If the blackhead does not release easily, do not continue to attempt the extraction,” Rouleau warns. This is especially important for the lip area, which is particularly sensitive and prone to swelling.
Step 5:
“Wipe the skin with an alcohol-free toner and then apply a cooling, anti-redness, anti-bacterial gel mask like the Rapid Response Detox Masque to reduce any irritation and clean out the pores further,” says Rouleau. If you do notice swelling, Rouleau suggests icing the area.
The above technique may seem involved for one tiny speck on the face, but trust me and my lip scar: proper extraction is worth taking the time it takes. Plus, like weeds, blackheads seem to have a way of returning from the dead. “Most likely, your skin’s natural sebum will start to fill up again and the blackhead will end up coming back every two months or so,” Rouleau warns. So if you see a blackhead on your lipline, go ahead and start familiarizing yourself with proper extraction — you’ll have to perform it more than once.
Product prices may vary from the time this article was written.
Allergan® may receive commissions for purchases made through links in this article.